Important Disclaimer
eBikeGarageHQ provides educational content and estimates only. We are not certified installers, financial advisors, or electricians. Always consult with licensed professionals.
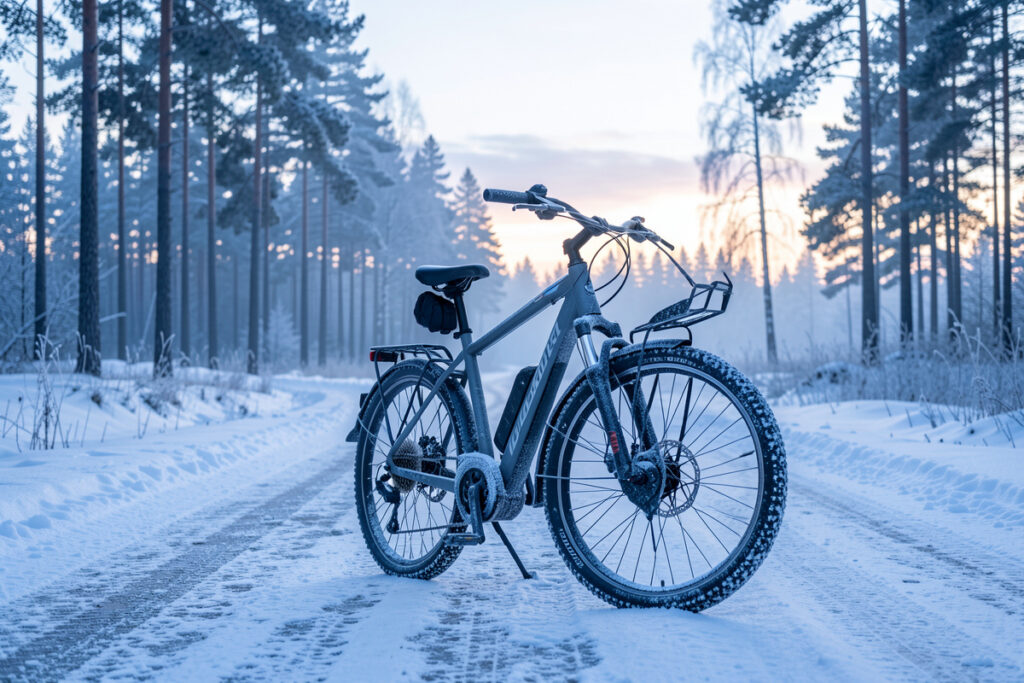
Winter e-bike riding works fine down to about -15°C if you accept three truths: your range drops 30-40% in the cold, your battery wants to sleep indoors, and bare rubber on ice will put you down. Everything else in winter cycling is detail layered on top of those three. I commute year-round in Sweden on a mid-drive and a hub-drive, and I keep a winter range log on the same loop so I can tell you what the cold actually costs rather than what a brochure pretends it doesn’t.
This guide is the master plan: what the cold does to range and battery, why studded tires stop being optional in November, how road salt quietly eats a drivetrain, and how to dress so you arrive neither frozen nor soaked in sweat. Each section links out to the deep-dive that earns its own page. Treat this as the map; follow the links for the territory.
What Cold Actually Does to Your Range
Cold is a range tax, and it is bigger than most riders expect. On my test loop a battery that delivers around 70 km at +20°C gives me roughly 45-50 km once the air sits at -10°C, with the same assist level and the same route. That is a 30-40% haircut, and it is real chemistry, not pessimism.
Lithium cells lose usable capacity when they are cold because the electrolyte gets sluggish and internal resistance climbs. The pack still holds the energy; it just cannot hand it over as freely until it warms. The practical effect is that your Wh/km climbs even before you factor in winter headwinds and slush drag. I cover the numbers in detail in my cold weather range loss log, and the underlying budgeting in Wh per km by terrain. The short version: plan winter rides on two-thirds of your summer range and you will rarely get caught short.
There is a second-order effect worth knowing. A cold pack under heavy draw sags harder in voltage, which on some systems trips the low-voltage cutoff earlier than the percentage display suggests. That is why a winter battery can read 15% and then quit abruptly on a hill. Ride with a wider reserve in the cold than you would in July.
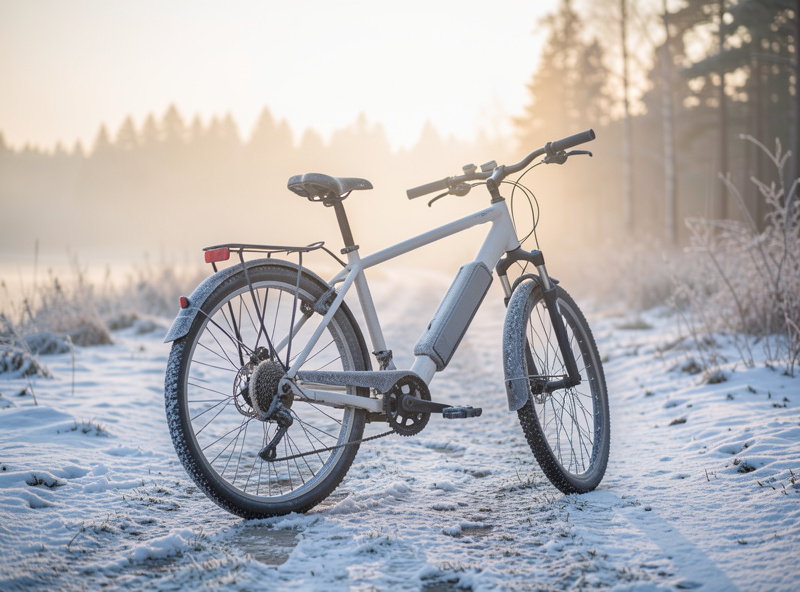
The Battery Is the Part That Suffers Most
If you protect one thing this winter, protect the battery. Cold cells discharge worse and charge worse, and charging a battery below roughly 0°C can plate lithium onto the anode and do permanent damage. The rule I live by: the bike can sleep in the cold shed, but the battery sleeps inside with me.
For an active winter commuter this is a daily handling habit, not a once-a-season chore. Pull the pack when you park, let it return to room temperature, and charge it warm. In the morning it goes back on the bike at full warmth and gives you its best possible range for the first few cold kilometers. I wrote the whole daily routine up in keeping your e-bike battery inside overnight, which is different from parking a bike for the whole season — that long-term case is the half-charge storage rule.
Two habits sit underneath all of this and apply year-round: sensible charge levels and never charging a frozen pack. I keep mine between 20% and 80% for daily use and only top to 100% before a long ride, which is the same logic I explain in charging habits that extend battery life and the broader battery care guide. The pack on my e-bike and the bank on my battery wall obey the same chemistry; the bike just adds wind chill to the discharge curve.
Traction: Why Studded Tires Stop Being Optional
The fastest way to end your winter season early is a low-side crash on black ice. An e-bike is heavier than an acoustic bike and carries its mass differently, so when the front wheel lets go there is more momentum to manage and less time to react. Studded tires are the single highest-value winter upgrade, full stop.
Carbide studs bite into ice the way summer rubber simply cannot. On packed snow and clear ice I ride with the confidence of summer tarmac; the difference is not subtle. The trade-off is rolling resistance and a faint hum on dry pavement, plus a few extra Wh/km, but that is a cheap insurance premium. Choosing between stud counts, carbide versus steel, and the right width for your rims is its own decision, which is why I broke it out into a full studded e-bike tire selection guide. If you want the riding-experience side — what it actually feels like to commute on studs through a season — that lives in my studded tires for winter riding piece.
Run them at the lower end of the recommended pressure in winter. A slightly softer tire puts more studs in contact with the surface and conforms better to uneven ice. I drop about 0.3-0.5 bar below my summer pressure once the studs go on.
Mid-Drive vs Hub-Drive: Which Handles Winter Better
Both of my bikes earn their winter keep, but they cope with cold differently, and it is worth knowing before you buy a winter commuter. A mid-drive concentrates its weight low and central, which keeps the bike planted on slick surfaces and lets the studded tire under each wheel do its job evenly. It also drives the chain through your gears, so on a snowy hill you can drop to a low gear and let the motor spin in its efficient band rather than bog down.
A hub motor, usually rear-mounted, puts mass out at the wheel. That extra unsprung weight can feel slightly more skittish when the back end steps out on ice, and a rear hub on a slippery climb is more prone to spinning up than a mid-drive feeding torque through the gears. Hub motors do have one cold-weather virtue: fewer exposed drivetrain wear points under load, since the chain is not carrying motor torque. The maintenance trade-offs are the same year-round ones I lay out in hub vs mid-drive maintenance and the broader hub vs mid-drive guide, just amplified by salt and cold.
One thing that matters more in winter than people realize: a torque sensor reads your pedal pressure and feeds assist smoothly, which is far easier to modulate on ice than a cadence sensor’s on/off surge. A sudden burst of power to a wheel that has just found a patch of black ice is exactly how you lose the back end. If you ride a lot of winter, the difference between sensor types I describe in torque sensor vs cadence sensor is a genuine safety feature, not just ride feel.
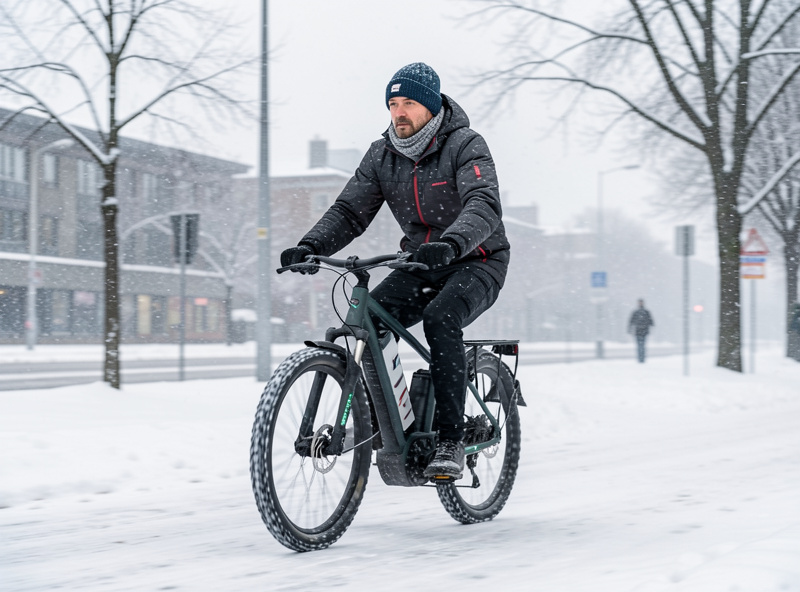
How to Actually Ride on Ice
Studded tires buy you grip, but technique is what keeps you on top of it. The golden rule on ice is smoothness: every input — power, brake, and steering — has to be gradual, because ice punishes the sudden. On my winter loop I ride a gear lower than feels necessary and let the torque sensor feed assist in gently, since a stab of power to a wheel crossing a frozen tram rail is exactly how the back end steps out from under you.
Brake earlier and lighter than your summer instincts want. On clear ice your stopping distance stretches three to four times longer, so I start slowing well before junctions and feather the rear brake first to keep the front wheel rolling and steering. Lock the front on ice and you are down before you have registered the slide. Do your braking and your turning on the grippy asphalt between the slick patches, never on the ice itself — treat the ice as a coast-through zone with your hands quiet on the controls.
Read the surface the way you read traffic. Matte grey asphalt is usually fine; a wet-looking sheen at -3°C is black ice and demands you unweight, coast, and keep the bars dead straight across it. Painted road markings, steel manhole covers, and the polished groove of a tram rail are the spots that catch riders out, because they glaze over while the road around them still grips. I treat every one of them as a no-brake, no-steer zone and pick my line to cross them square, not at an angle.
Cornering is where most winter offs happen, so I take bends slow and upright, doing the turn with a gentle lean and never with the brakes mid-corner. Standing starts on ice are their own small skill: ease off the line in a low gear on the lightest assist level, because a hard launch just spins the driven wheel and slews the tail. If the rear does break loose under power, back off the pedals rather than fighting it — on an e-bike the instinct to keep pedalling through a spin is exactly the wrong one. Ride to the conditions and the studs do the rest.
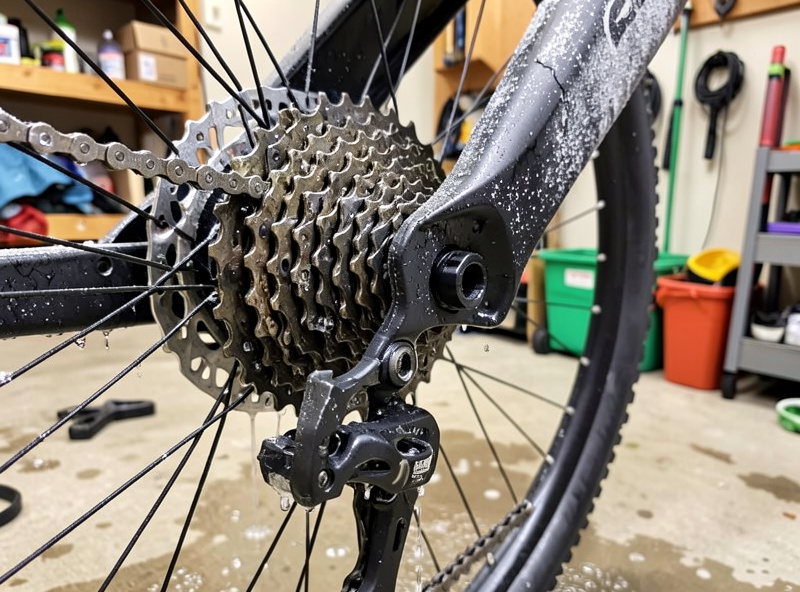
Salt and Corrosion: The Slow Killer
Ice will scare you in an afternoon; road salt will cost you in March. Municipalities salt bike paths hard here, and salt-laden slush is a brine that works into every chain pin, every brake pivot, every exposed bolt and bearing seal. It does not announce itself. You notice it when the chain skips under motor torque or a bolt rounds off in spring.
The defense is a rhythm, not a heroic deep-clean. A quick rinse of the lower frame, drivetrain, and brakes after salty rides, a winter-grade wet lube on the chain, and a film of corrosion inhibitor on exposed hardware will carry a bike through a Nordic winter in good shape. Mid-drive owners pay special attention here because the chain runs under motor load and salt accelerates the wear I track in my maintenance system. The full winter routine — what to rinse, what to lube, what to keep off the motor and connectors — is in salt and corrosion care for your e-bike.
Staying Warm Without Overheating
The beginner mistake is dressing for standing at the bus stop. You are about to generate heat for forty minutes, and an e-bike’s assist means you still work, just less. Dress so you are slightly cold for the first five minutes and you will be right for the rest of the ride. The system that does this is layering, and it matters more than any single expensive jacket.
A moisture-wicking base layer, an insulating mid-layer you can shed, and a windproof outer shell handle most of the Nordic winter range. The extremities — hands, feet, the gap at your neck — are where comfort is actually won or lost, because the wind chill of riding is brutal on anything exposed. I lay out the whole temperature-banded system, including the e-bike-specific wrinkle that you sweat less than an acoustic rider but get hit by more wind chill, in the winter cycling clothing layering guide.
Being Seen: Winter Lighting and Visibility
Nordic winters are dark on both ends of the commute. You are riding to work and home from work in the dark for months, often through falling snow that swallows light. Good lighting is not a nicety here; it is the difference between being a road user and being a surprise.
A proper front light with a real beam pattern, a steady rear light plus a blinking backup, and reflective elements on your moving parts (ankles, pedals) make you legible to drivers in conditions where everything is grey and low-contrast. I cover specific picks and the brightness that actually matters in best e-bike lights for winter commuting. Pair that with proper fenders and racks so the slush stays off you and your gear, and the whole four-season commuter loadout comes together.
The EU Rules Don’t Change in Winter
Worth saying plainly because winter tempts people toward “more power” thinking: the legal frame is the same in January as in July. In the EU a pedelec is capped at 250W continuous rated output with motor assist that must cut off at 25 km/h, and it must be pedal-driven for that assist. Snow and cold do not grant you an exemption, and a tire or controller change that pushes you past those limits changes the legal class of the machine.
The honest winter upgrade is traction and visibility, not wattage. A 250W mid-drive with studded tires and good lights is a vastly more capable winter machine than an over-powered one on summer rubber. Keep the bike legal and put your money where it actually buys safety.
Winter Prep by Temperature Band
Different cold calls for different preparation. This is the rough framework I run by, based on my own logged commutes — treat the range figures as directional, since your terrain and assist habits move them.
| Temperature band | Range vs. summer | Battery handling | Tires | Clothing focus |
|---|---|---|---|---|
| +5 to 0°C | ~85-90% | Charge indoors; bike can stay out | All-season ok if dry; studs if frost | Light layers, windproof shell |
| 0 to -10°C | ~70-80% | Battery indoors overnight, charge warm | Studded tires on | Full layering, insulated gloves |
| -10 to -20°C | ~55-65% | Battery indoors always; insulate on bike | Studded, lower pressure | Heavy extremities, face cover, lobster gloves |
| Below -20°C | ~50% or less | Short rides only; warm pack essential | Studded, max bite | Full winter kit, no exposed skin |
A Pre-Winter Bike Check Worth Doing
Before the first real freeze I run a short check that prevents most mid-winter roadside problems, and none of it takes a workshop. Brakes come first: e-bikes are heavy and stop hard, and pads wear faster carrying that weight, so I check pad thickness and replace anything marginal before winter rather than discovering it on an icy descent. Cold also stiffens hydraulic fluid and cables, so a sluggish lever in November is a warning, not a quirk.
Next is the boring-but-vital bolt pass. Cold makes metal contract and salt loosens what vibration started, so I torque the stem, the rack mounts, the disc rotor bolts, and the motor mounting hardware to spec. On a hub-drive that means a proper check of the axle nuts and torque arm; on my conversion it means the same obsessive attention the kit deserves. A loose rack over a winter of slush becomes a creaking, corroding mess by spring.
Finally, tires and cables. I fit the studded tires early so the studs seat properly on a few dry rides before they meet ice, and I run a drop of lube into exposed cable ends and the chain. The whole pass is maybe thirty minutes and it folds neatly into the seasonal rhythm in my maintenance system. Going into winter on a bike you have actually checked is a different experience from limping through it reacting to failures.
My Winter Commute Checklist
Here is what I actually do, distilled. Before the season: fit studded tires, switch to a winter wet lube, fit full fenders, check lights and carry spare batteries for them, and do a corrosion-inhibitor pass on exposed hardware. Every ride: battery in warm, charged the night before; drop tire pressure slightly; lights on for the whole commute regardless of daylight. After salty rides: quick rinse of drivetrain and brakes, re-lube if you rinsed the chain.
None of it is expensive once the tires are bought. It is mostly rhythm — small habits repeated — and that rhythm is what separates riders who quietly commute all winter from those who park the bike in November and tell themselves it’s not the season for it. It is absolutely the season for it. As an Amazon Associate I earn from qualifying purchases. The two upgrades worth spending on first are studded winter tires and an insulated battery cover for the days the pack has to live on the bike.
Related Guides
The deep dives that make up this winter cluster:
- Studded E-Bike Tire Selection Guide — stud count, carbide vs steel, sizing for your rims.
- Keeping Your E-Bike Battery Inside Overnight — the daily cold-weather handling routine.
- Salt and Corrosion Care for Your E-Bike — the rinse-and-lube rhythm that beats road salt.
- Winter Cycling Clothing Layering Guide — the temperature-banded system for arriving warm and dry.
- Cold Weather Range Loss: What a Winter Log Shows — the numbers behind the range tax.
Frequently Asked Questions
How much range does an e-bike lose in winter?
On my test loop, range drops roughly 30-40% between +20C and -10C at the same assist level. Plan winter rides on about two-thirds of your summer range and you will rarely run short, because a cold pack also sags in voltage and can cut off earlier than the percentage display suggests.
Can I leave my e-bike battery outside in winter?
The bike can stay in a cold shed, but the battery should come inside. Cold cells deliver less range, and charging a battery below about 0C can permanently damage it. Bring the pack indoors, charge it warm, and refit it warm in the morning for best range.
Are studded tires necessary for winter e-bike riding?
On ice and packed snow, yes. An e-bike is heavier and carries momentum differently, so a front-wheel slide on black ice is hard to recover. Carbide-stud tires grip ice like summer rubber grips tarmac, which makes them the single highest-value winter safety upgrade.
Does road salt damage an e-bike?
Yes, salt-laden slush is a brine that works into chain pins, brake pivots, bolts, and bearing seals, accelerating wear and corrosion. A quick rinse of the drivetrain and brakes after salty rides, plus a winter wet lube and corrosion inhibitor on hardware, prevents most of the damage.
How cold is too cold to ride an e-bike?
There is no hard cutoff for the bike, but below about -20C range can halve and components get brittle. The limiting factor is usually you and the battery, not the motor. Keep the pack warm, dress for full wind chill, and shorten rides as the temperature drops.
Do winter upgrades affect my e-bike’s legal status in the EU?
Traction and lighting upgrades do not. The EU pedelec limit is 250W rated output with assist cutting off at 25 km/h, and that frame applies year-round. Studded tires, lights, and fenders keep you legal; only power or speed modifications change the legal class of the machine.