Important Disclaimer
eBikeGarageHQ provides educational content and estimates only. We are not certified installers, financial advisors, or electricians. Always consult with licensed professionals.
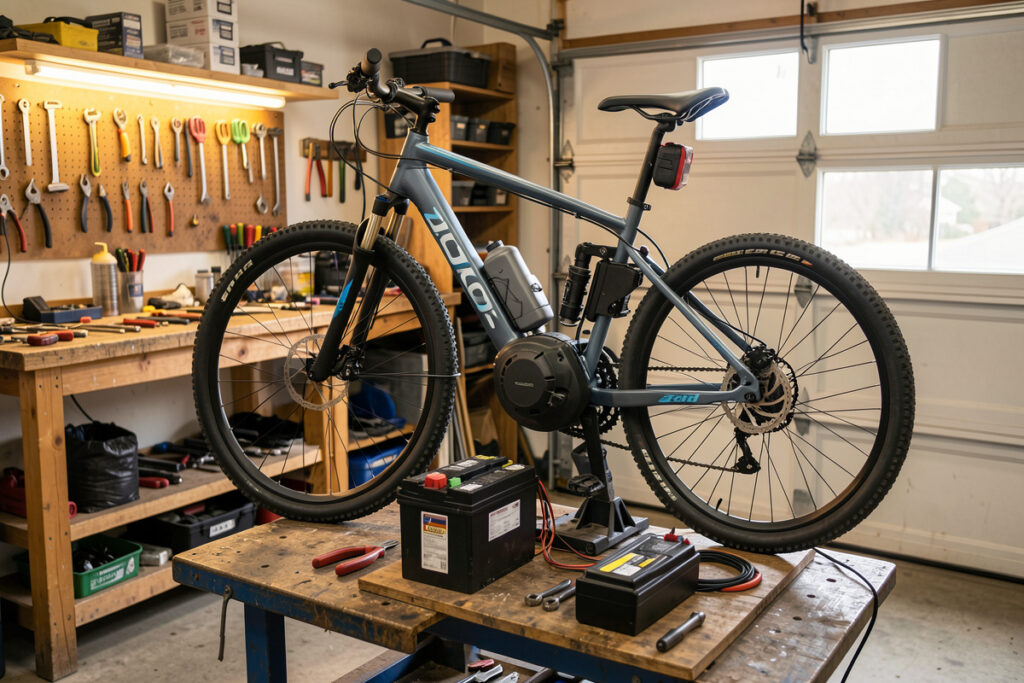
When you’re converting a bike rather than buying one, the hub-vs-mid decision flips: a rear-hub conversion is the simplest DIY path — essentially a motorized wheel, a controller, and a bought battery — while a mid-drive conversion is more involved and demands real attention to torque arms, dropouts, and the fact that you’re now feeding motor torque through your bike’s original drivetrain. I converted a donor bike with a Bafang-class mid-drive kit on my own bench, and the lessons there are different from anything in the buy-a-finished-bike world. Here’s the honest implications of each, from someone who’s actually wrenched it.
One hard line before anything else: everything here is at the kit-and-bought-pack level. I never cover building battery packs from cells, bypassing a BMS, or modifying chargers — that’s how houses burn down, and it’s permanently off the menu on this site. A conversion means a bought, sealed battery pack and a complete kit, full stop. With that established, let’s talk implications.
Why convert at all, when finished e-bikes are cheap and good? Two honest reasons. One is cost-to-capability: a conversion on a sound donor can give you mid-drive performance for a fraction of what an equivalent factory mid-drive costs, because you’re reusing a perfectly good frame, wheels, and brakes. The other is that you end up understanding your bike completely — you fitted every part, so you can fix every part. The trade is your time and a willingness to get it right. If you’d rather just ride, buy a finished bike; if the building is part of the appeal, a conversion is deeply satisfying.
Legal Reality Comes First
A conversion can quietly put you outside the law if you’re not careful, so know your limits before you buy a kit. In the EU, a legal pedelec is 250 W continuous with assist cutting out at 25 km/h — many conversion kits sold online exceed that, and fitting one can make your bike a vehicle that legally isn’t a bicycle anymore, with insurance and registration consequences. In the US, your kit’s power and top speed determine whether the result is a Class 1, 2, or 3 e-bike or something that falls outside those classes entirely. Read your national and local rules before ordering, and pick a kit that keeps you legal where you ride. A conversion that’s illegal on your roads is a problem you built yourself.
Hub Conversion: The Simple Path
A rear-hub (or front-hub) conversion is the most beginner-friendly route, and for good reason. The motor is already built into a wheel, so the core of the job is swapping your existing wheel for the motorized one, mounting a bought battery and controller, routing the cables, and fitting a display. There’s no interaction with your drivetrain at all — your chain, cassette, and shifting are untouched — so you avoid a whole category of complexity. For a first conversion on a flat-to-rolling commute, this is the path I’d point most people toward.
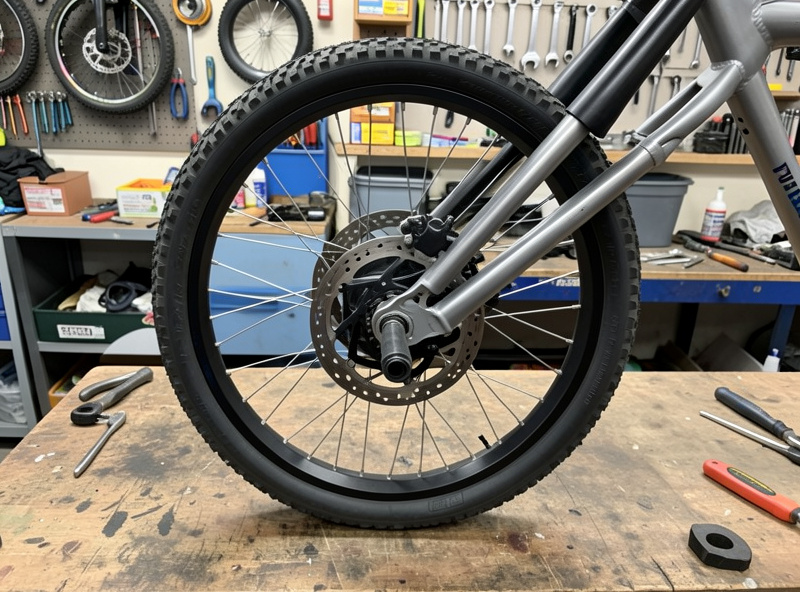
The one non-negotiable is the torque arm. A hub motor tries to twist the axle in the dropout, and on aluminium dropouts especially, that twisting force can spread the dropout or spin the axle — which at worst can be dangerous. A proper torque arm transfers that force into the frame safely. Fit one (or two for higher-power kits). This is the single most important safety detail of a hub conversion and the one beginners most often skip.
Mid-Drive Conversion: The Involved Path
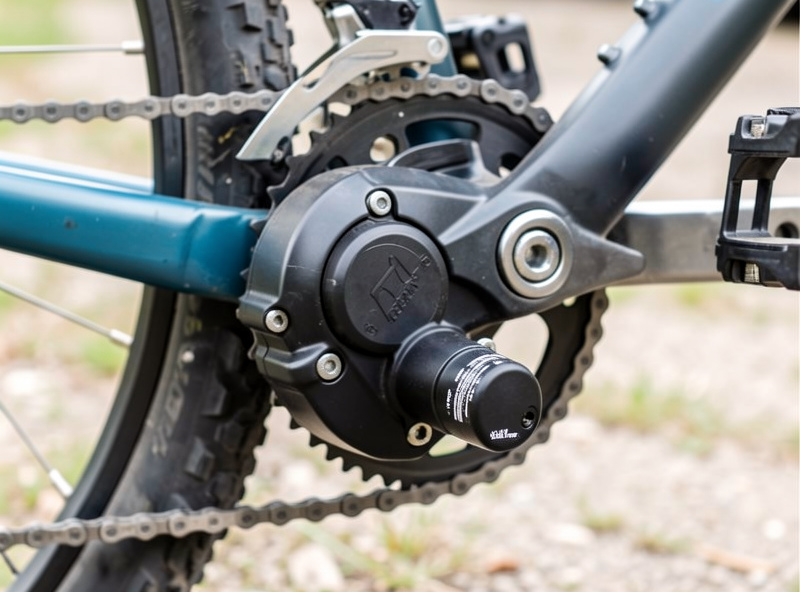
A mid-drive conversion — the route I took with a Bafang-class kit — is more rewarding and more demanding. The motor replaces your bottom bracket and drives the chain, which means you get the gear-multiplied climbing and central weight that make mid-drives special (covered in hub motor vs mid-drive on hills and e-bike weight distribution). But fitting it means removing your old bottom bracket, checking the kit clears your frame and chainstays, and accepting that you’re now sending motor torque through a drivetrain that was sized for legs alone.
That last point is the big maintenance implication: a converted mid-drive eats chains and cassettes just like a factory mid-drive does, so the wear story from hub vs mid-drive maintenance applies in full. On my build I went in expecting to replace chains early, and I do. A mid-drive conversion also rewards a bit of mechanical confidence — it’s not a wheel swap, it’s a genuine bottom-bracket job — so it’s the better second project than first.
Conversion Implications Compared
| Implication | Hub Conversion | Mid-Drive Conversion |
|---|---|---|
| Difficulty | Beginner-friendly — mostly a wheel swap | Involved — bottom-bracket job, frame fit checks |
| Critical safety item | Torque arm at the dropout (essential) | Torque/mounting per kit instructions, chainline |
| Drivetrain effect | None — chain untouched | Motor torque runs through chain and cassette |
| Climbing result | Fixed ratio — fine on flat/rolling | Gears down — strong on hills |
| Battery | Bought pack — never DIY cells | Bought pack — never DIY cells |
| Best for | First conversion, flat commute | Hills, ride feel, a confident builder |
Choosing a Donor Bike
The bike you start with decides half your outcome, and people overlook this. For a hub conversion, the donor needs strong dropouts — steel is forgiving, aluminium needs torque arms taken seriously — and enough room for the motorized wheel and its wider axle. For a mid-drive conversion, the critical checks are the bottom-bracket standard and width (the kit has to actually fit your shell) and whether the motor body clears your chainstay and frame. A cheap, heavy, ill-fitting donor will fight you the whole way; a sound, simple steel frame with conventional standards is a joy to convert.
Disc or rim brakes matter too. You’re adding weight and speed, so good brakes aren’t optional — I’d want disc brakes on any conversion that’ll see hills or carry a load, the same braking reality covered in hub vs mid-drive maintenance. And check the rear triangle spacing matches the kit’s wheel for a hub build. Spend an afternoon confirming fit before you order; a returned kit and a wrong-sized wheel is a miserable way to learn this.
What Goes Wrong, and How to Avoid It
From my own bench and from watching others, the conversion failures cluster into a few predictable categories. The biggest is the skipped or undersized torque arm on a hub build — under hard acceleration the axle works loose and chews the dropout, and on a front hub that can be genuinely dangerous. The second is buying a kit that’s illegal where you ride, then discovering it when it matters. The third is cable routing and connector care: a connector that works loose or a cable rubbed through by the front wheel will leave you stranded, so route generously and secure everything.
The fourth, and the one I take most seriously, is anything battery-related. A loose battery mount, a damaged pack, or a non-matched charger is where a fun project turns into a fire risk. Mount the pack solidly, inspect it for damage, charge it on its proper charger, and store it sensibly — care habits, not modifications. None of these failures are exotic; they’re all avoidable with patience, the right donor, and respect for the two things that actually hurt people: the torque arm and the battery.
The Battery: Bought, Not Built
Whichever motor you choose, the battery is the part where I draw the firmest line. Buy a complete, sealed pack from the kit maker or a reputable supplier, matched to your kit’s voltage and your controller. Do not build a pack from individual cells, do not bypass the battery management system, and do not modify the charger. The chemistry is the same whether it’s powering a bike or a stationary wall — I run a battery bench and respect it — and a badly built lithium pack is a genuine fire risk. A bought pack with a real BMS, charged with habits that treat it well, is the only safe way to power a conversion. For the deeper battery literacy beyond bike scope, the stationary-storage deep-dives at BatteryStorageHQ share the same bench discipline.
What I’d Tell a First-Time Converter
Start by deciding honestly whether you want the simple path or the rewarding one. If you want assisted miles on a flat commute with the least hassle, do a hub conversion, fit the torque arm, buy a sealed pack, and enjoy it. If you have hills, want the bike-like ride, and you’re comfortable doing a real bottom-bracket job, the mid-drive conversion gives you a machine that punches well above its parts cost — that’s the moat of building your own. Either way, confirm the kit keeps you legal where you ride, never compromise on the battery, and read the full motor-choice picture in the hub vs mid-drive guide and the commuting angle in hub or mid-drive for commuting before you spend a krona.
As an Amazon Associate I earn from qualifying purchases. Two genuinely useful kit-level buys: a proper e-bike torque arm — the cheap part that keeps a hub conversion safe in the dropout — and, if you’re going the simple route, a complete hub motor conversion kit so the motor, controller, and display are matched out of the box. Buy your battery as a sealed pack from a reputable source — never from individual cells.