Important Disclaimer
eBikeGarageHQ provides educational content and estimates only. We are not certified installers, financial advisors, or electricians. Always consult with licensed professionals.
E-bike brake pads wear out roughly twice as fast as on an analog bike — plan to inspect every 1,000 km and replace once the friction material drops under about 1.5 mm. The extra weight and higher speeds mean a pad that lasted a year on your old bike often needs swapping every season on an e-bike.
Brakes are the one system where I won’t let anything slide, because they’re what stands between a loaded winter commute and a hedge. After four seasons of commuting on mid-drive and hub-drive bikes, I’ve settled into a rhythm of checking pads far more often than I ever did on an unpowered bike — and keeping a spare set in the parts drawer year-round. Here’s how to read pad wear, how often to expect to replace, and what actually drives the intervals.
Why E-Bike Brakes Wear Faster
It comes down to energy. Stopping a bike means turning its kinetic energy into heat at the brake, and an e-bike has more of it: more mass — often 8 to 12 kg more than an analog bike once you count motor and battery — and frequently higher average speeds. More energy through the same pad means the friction material wears away faster. On a Class 3 or fast commuter bike doing real velocity, the effect is even stronger because kinetic energy rises with the square of speed.
That’s why the same pad compound gives roughly half the life on an e-bike. It isn’t a quality problem with e-bike brakes — most are good hydraulic discs — it’s simple physics. The brakes are doing more work, so the wear part wears sooner. Understanding that is what shifts you from “why are my pads gone already?” to planning replacements as a normal, expected part of the maintenance rhythm I lay out in my complete maintenance guide.
How to Read Pad Wear
Disc brake pads have a layer of friction material bonded to a metal backing plate. New pads start with around 3 to 4 mm of material; the replace point is when that drops to roughly 1.5 mm, including the backing on some measurements — check your brake maker’s exact figure. Past that, you risk wearing through to the backing plate, and metal-on-metal will score the rotor, turning a cheap pad job into a pad-and-rotor job.
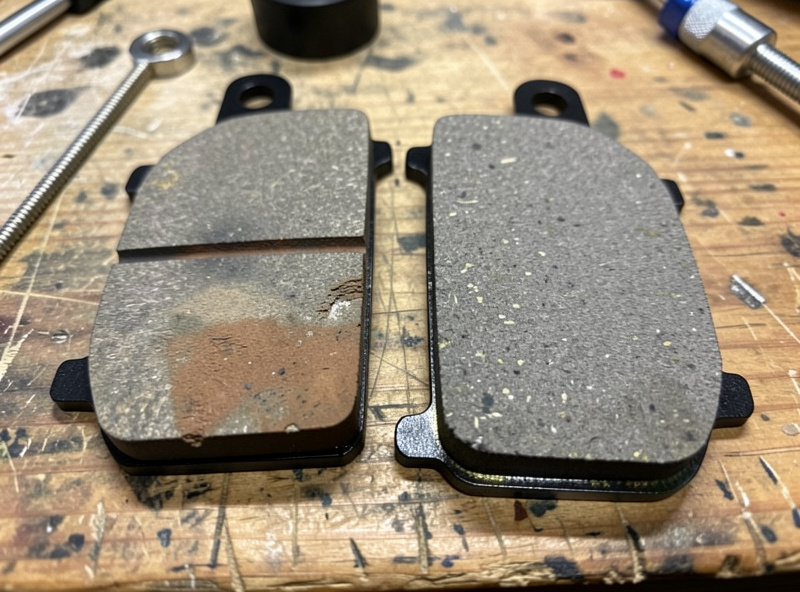
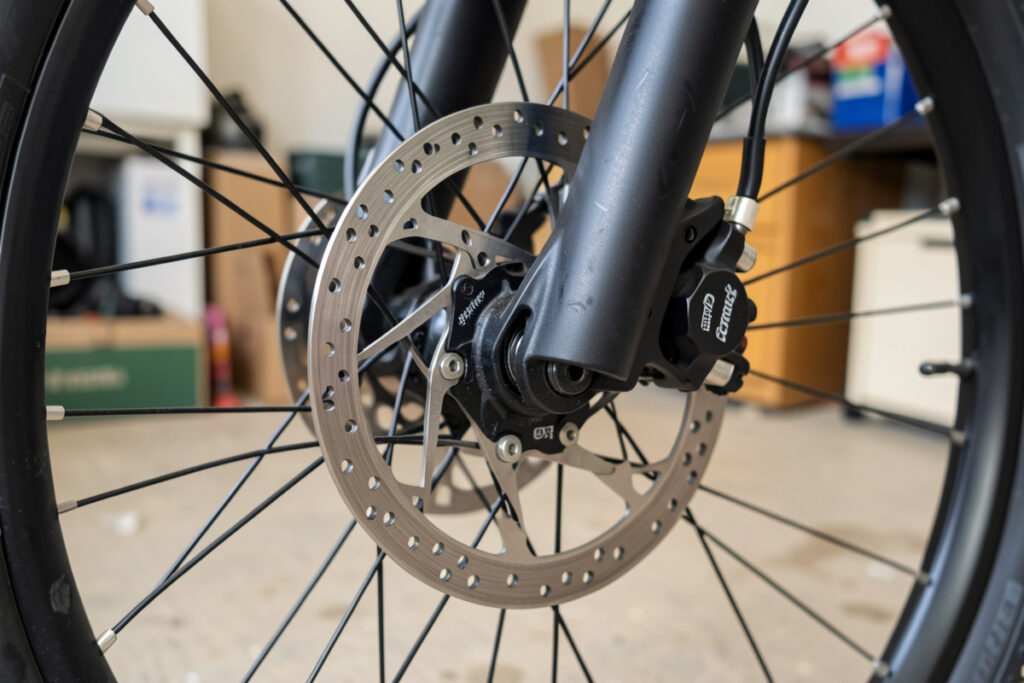
To check, I look through the caliper at the pads in place — a small light helps — and judge the remaining material against a new pad I keep for reference. If it’s marginal, I pull the wheel and the pads for a proper look. The other tell is feel and sound: a brake that needs more lever travel, feels glazed and weak, or starts to squeal or grind is telling you to inspect now. Don’t wait for the grind; by then the rotor may already be marked.
Replacement Intervals: What to Actually Expect
There’s no single number because it depends on your weight, terrain, riding style, and weather — but here are the ballparks I work to. A typical commuter on flat-to-rolling terrain gets maybe 1,000 to 2,000 km per set. Hilly riding with lots of long descents, heavy loads, or wet-and-gritty conditions can cut that to 500 to 1,000 km. Gentle flat riding in the dry can stretch it past 2,000.
The constant is the inspection interval, not the replacement interval: check every 1,000 km regardless, and replace whenever the material is low. Grit is the accelerator here exactly as it is on the chain — winter salt and sand embed in the pad and grind both pad and rotor faster, which is why my winter pad intervals are shorter than summer. I track this alongside everything else in my seasonal service schedule.
Organic vs Sintered: Which Pad to Fit
E-bike disc pads come in two main compounds, and the choice affects both wear and feel. Organic (resin) pads are quieter and bite well from cold, but wear faster and fade sooner under sustained heat. Sintered (metallic) pads last longer, handle heat and wet far better, and are my default for a heavy e-bike that does long or loaded descents — the trade-off is a bit more noise and a longer bed-in.
| Property | Organic (resin) | Sintered (metallic) |
|---|---|---|
| Wear life on e-bike | Shorter | Longer |
| Wet / winter performance | Fades when wet | Strong in wet and grit |
| Heat resistance | Fades on long descents | Handles sustained heat |
| Cold bite / quietness | Better, quieter | Slight noise, longer bed-in |
| Best for | Dry, flat, light use | Heavy e-bikes, hills, all-season |
For a four-season Nordic commuter I run sintered front and rear and accept the small noise penalty for the longevity and wet bite. If you mostly ride dry summer streets, organic is fine and friendlier. A correctly matched set of sintered e-bike brake pads for your specific caliper is the part to keep spare. As an Amazon Associate I earn from qualifying purchases.
Bedding In New Pads Properly
New pads don’t give full power until they’re bedded in, and skipping this step is why some riders think their fresh pads are weak. Bedding in transfers an even layer of pad material onto the rotor and seats the two surfaces together. Do it on a quiet stretch of road before your first real ride on new pads.

My method: accelerate to a moderate speed and brake firmly but smoothly to walking pace without fully stopping, then repeat eight to ten times, letting the brakes cool a little between. You’ll feel the power come up as the surfaces mate. Avoid coming to a complete dead stop while the brakes are hot, which can leave a deposit and cause pulsing. Done right, the brakes feel strong and consistent from the first proper descent — which on a heavy e-bike is exactly when you want them.
When to DIY and When to See a Shop
Swapping pads is a genuinely beginner-friendly job: pull the wheel, push the old pads out, retract the pistons, slot the new pads in, refit. A set of hex keys and ten minutes does it, and doing it yourself means you inspect often and catch wear early. I do all my own pad swaps. What I leave to the shop is the annual hydraulic bleed — a brake that feels spongy or has too much lever travel after a pad change may need bleeding, and on a bike that does real speed I want that done right.
The other shop job is a scored or warped rotor: if you let pads wear through and marked the rotor, replace it, because a grooved rotor chews new pads fast. That whole cascade — worn pads to scored rotor to wrecked new pads — is exactly what on-time replacement prevents, and it’s the same cheap-part-protects-expensive-part logic that runs through e-bike maintenance generally, from the chain and cassette to the brakes.
Frequently Asked Questions
How often do e-bike brake pads need replacing?
Inspect every 1,000 km and replace once the friction material drops under about 1.5 mm. Real-world life ranges from 500 to 1,000 km in hilly, wet, or heavy use up to 2,000 km or more for gentle dry flat riding. The inspection interval matters more than any fixed replacement number.
Why do e-bike brake pads wear out twice as fast?
An e-bike carries 8 to 12 kg more mass and often rides faster, so the brakes turn more kinetic energy into heat at the pad. More energy through the same friction material wears it away sooner. It is physics, not a fault with the brakes themselves.
Should I use organic or sintered pads on an e-bike?
Sintered (metallic) pads are the better default for a heavy e-bike: they last longer and perform far better in wet, grit, and sustained heat. Organic pads are quieter and bite well from cold but wear faster, suiting dry, flat, lighter use.
Can I replace e-bike brake pads myself?
Yes. Pull the wheel, remove the old pads, retract the pistons, fit the new pads, and refit the wheel. It takes about ten minutes with hex keys. Leave the annual hydraulic bleed and any scored-rotor replacement to a shop.
How do I know my e-bike brake pads are worn out?
Look through the caliper and compare remaining material to a new pad; replace near 1.5 mm. Warning signs include more lever travel, a glazed or weak feel, and squealing or grinding. Do not wait for the grind, which usually means metal has already scored the rotor.
Do new e-bike brake pads need bedding in?
Yes. Brake firmly from moderate speed to walking pace eight to ten times without fully stopping, letting the brakes cool between. This transfers an even layer of material to the rotor and brings power up. Skipping it is why fresh pads can feel weak at first.